HOW TO (DIY) LOWER AUDI A6 C7 QUATTRO * H&R SPRINGS *
0 up · 0 down · 0 ratings
Description
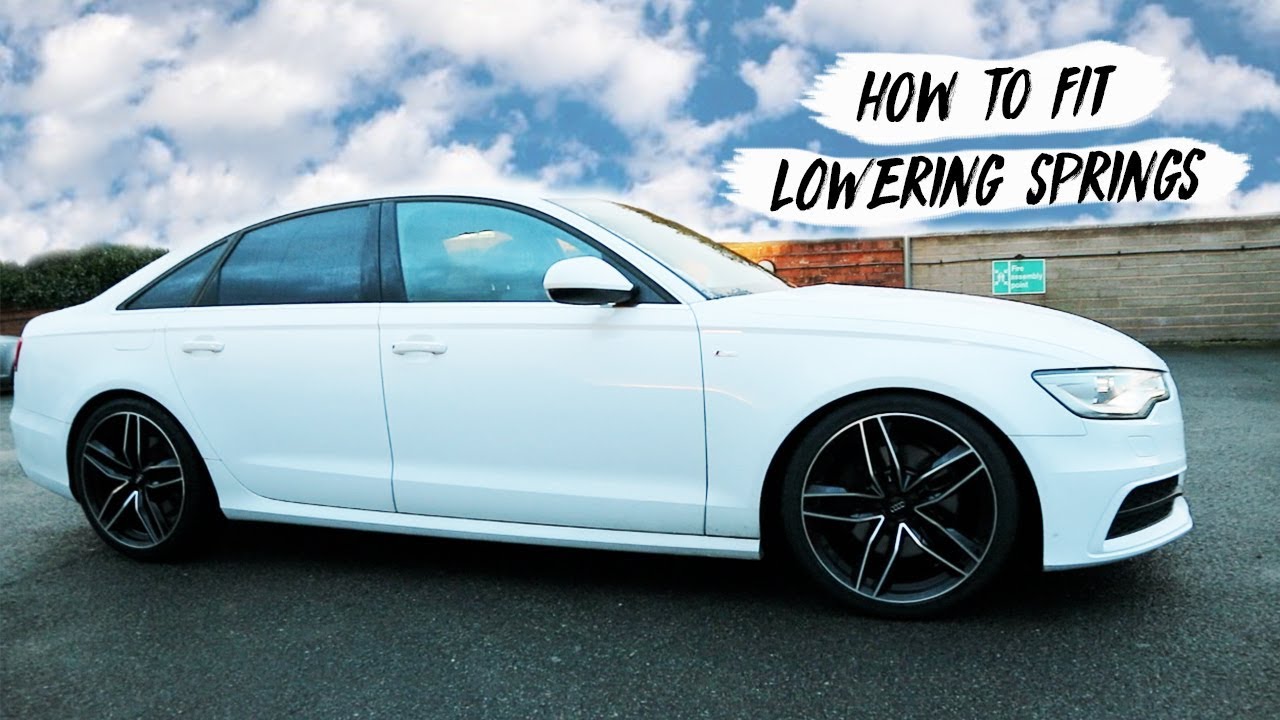
This weeks upload is just a short * HOW TO * on fitting H&R lowering springs on a : - Audi A6 C7 2012 3.0TDI Quattro 20" Alloys As you guys can see from a few previous vids i get a few cars in for lowering etc .. The ones i think may interest you i will try and film. Didn't manage to get much footage of this one as i was a bit short for time. But if I've helped you or you enjoyed the vid and want more be sure to SUBSCRIBE AND HIT THE LIKE BUTTON. Make sure you
Channels and socials
follow me on: @matarmstrongbmx @matarmstrongbmx
This video provides a practical, hands on guide to lowering a 2012 Audi A6 C7 Quattro using H R Springs, focused on a DIY approach. The host begins by establishing the goal: reduce ride height by about 30 millimeters while maintaining safe handling characteristics, noting the car sits on 20 inch wheels and is a 3 liter TDI Quattro. The process starts with the rear suspension, where two top strut bolts, the anti roll bar, and the camber adjusting arms are carefully addressed to free the spring from its seat. The host emphasizes the importance of proper alignment after any suspension modification, explicitly warning that adjustments to camber arms will necessitate a four wheel alignment. The clip documents the challenges of compressing the springs and reassembling the components, including detailed notes on where to place the camber bolts and how to line up the spring with the marks, alongside practical tips about brake components to reduce stress during disassembly. After installing the new H R spring, the host moves to the front suspension, repeating the removal and reassembly steps and highlighting the need to disconnect brake lines and anti roll bar links, followed by careful spring compression and seating. The video concludes with a quick bolt check, a test drive, and a clear reminder that a proper alignment is essential for the final setup, while also acknowledging that the editing and filming quality may be rushed but the end result looks noticeably improved with a lower stance and a more balanced wheel alignment the wheel alignment will take place afterward.
Topics · Autos & Vehicles · DIY & How to · Car Tuning