Install an Intel LGA1150 or LGA1155 CPU Processor as Fast As Possible
0 up · 0 down · 0 ratings
Description
Intel CPU & Heatsink Installation Guide. This procedure works for LGA1156 as well! FORUM LINK: linustechtips.com
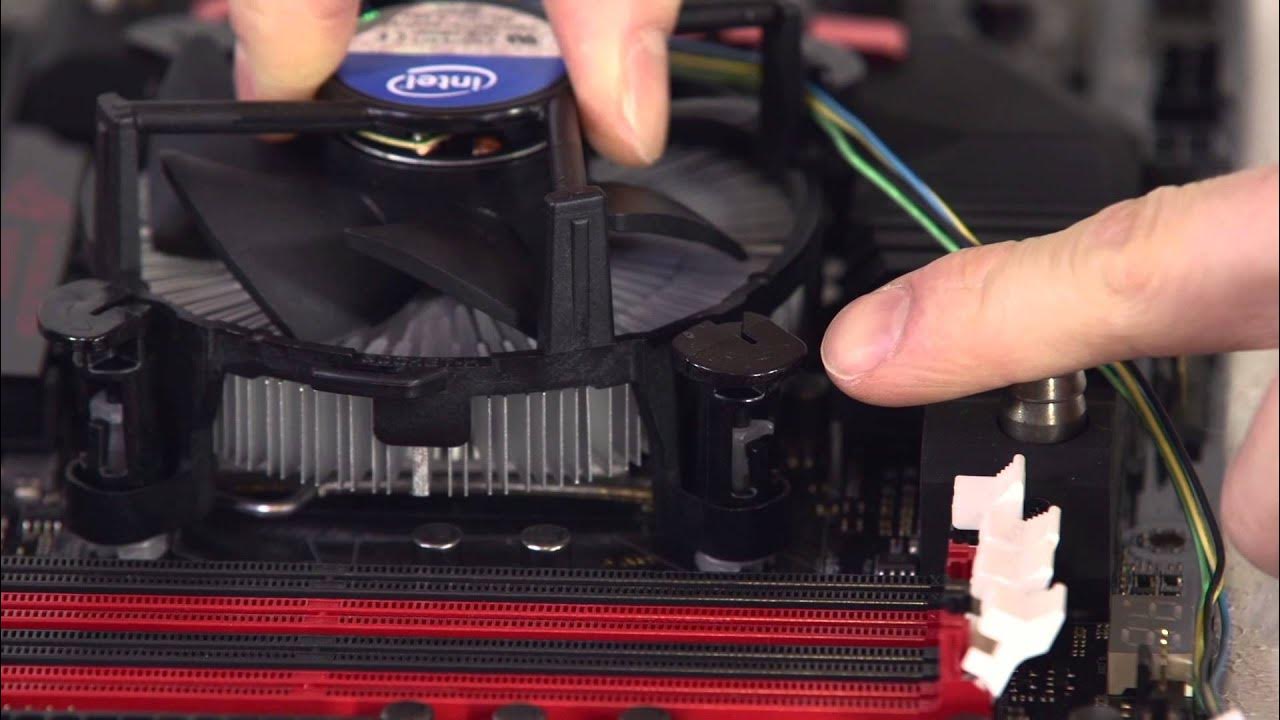
The video provides a compact, step by step guide to installing an Intel LGA1156 or LGA1155 CPU as quickly as possible. It starts by identifying the gold triangle alignment markers on the CPU and socket cover, then demonstrates how to release and move the retention arm and bracket to free the socket. The presenter emphasizes seating the CPU with a slight wiggle, then lowering the hold down plate and applying necessary pressure to secure it, ensuring the retention hook is engaged. A key portion covers heat sink installation, including reapplication of thermal compound when reusing a push pin style cooler, and the importance of aligning the plastic pins with all four motherboard holes. The tutorial also explains how to verify proper heat sink installation by listening for a distinct click or by checking whether the white plastic pins protrude correctly, and reminds viewers to route the CPU fan cable to the correct header. Finally, the video covers preparing the cooler’s wires, tucking them away, and plugging the fan into the labeled header, ending with a quick sign-off encouraging subscriptions and suggesting viewer feedback for future fast install episodes. The overall message is that with careful alignment, secure fastening, and proper cable management, CPU and cooler installation can be completed efficiently without errors.
Topics · how-to · technology · computing · hardware
Questions answered
- What initial step should you take when preparing to install the CPU in the LGA1156 or LGA1155 socket?
- Align the gold triangle on the CPU with the corresponding triangle on the socket cover or the metal triangle on the socket itself, then loosen the retention arm and bracket to open the socket.
- How can you verify that the heatsink is installed securely on the motherboard?
- Ensure the plastic pins pass through all four holes by rotating the heatsink and checking that all pins move, or listen for the distinctive click when the heatsink is fully seated.
- What should you do with the CPU cooler wires during installation?
- Untangle or loosen the fan wires, tuck them away safely to prevent interference, and plug the fan into the labeled CPU fan header on the motherboard.