BUILDING HIS DREAM PC - ROG Rig Reboot
0 up · 0 down · 0 ratings
Description
Check out James' entry video here: linustechtips.com Discuss on forum: linustechtips.com Thanks to everyone who entered!
Channels and socials
Thanks to ASUS Republic of Gamers for sponsoring this video! Learn more about ASUS ROG GeForce graphics cards: asus.com Aura Sync: asus.com For more information head over to: Website: asus.com Subscribe: youtube.com Join the community: ROG Twitch: go.twitch.tv ROG Facebook: @rog.n.america Twitter: twitter.com ROG Instagram: @rog_na
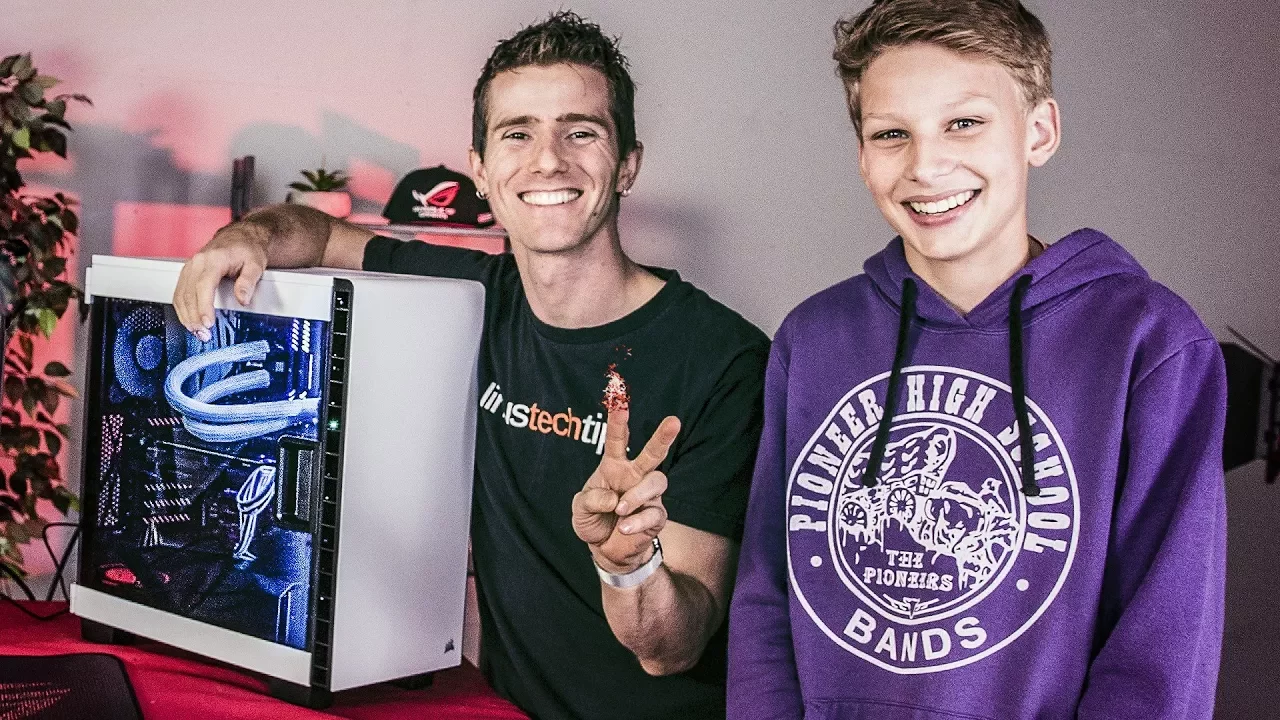
The video begins with an enthusiastic setup as the host introduces Rog Rig Reboot and sets the stage for James to upgrade his existing rig. Viewers are treated to the origin of the build theme centered on ASUS ROG branding, with a playful tone as the hosts guide James through the process. Early moments cover unboxing and terminology, emphasizing the importance of careful handling of the CPU and RAM while teasing the larger upgrade to come. The conversation then shifts toward the hardware specifics, including the choice of the ASUS ROG Strix GTX 1080 Ti and its capabilities for VR, multiple monitor connections, and G-Sync support, which underpin the performance goals for James’s new system. Throughout this segment, the hosts mix practical tips with light humor, making the procedure approachable for first time builders while also highlighting the premium components that drive high refresh rates and smooth gameplay. As the build progresses, attention turns to the assembly steps, including case cable management, mounting the graphics card into the PCIe slot, and confirming power supply readiness. The team explains how to bundle the smaller cables and attach them to the appropriate fans, demonstrating how to handle the more intricate parts of the build without getting overwhelmed. James receives guidance on safe handling and iteration, such as the proper way to insert RAM and attach the CPU cooler, with the host offering encouragement and practical tips for a novice builder. The dialogue then covers the moment of first power on, confirming that the system is alive and ready to boot, which marks a major milestone in the rebuild journey. Viewers observe how the configuration, including a high-end CPU like the 7700K and ample RAM, translates into tangible gaming performance. In the final stretch, the video underscores the benefits of G-Sync with a high refresh rate monitor, illustrating how the combination of the 1080 Ti and a 240 Hz display yields fluid visuals and reduced tearing. The presenters discuss overclocking basics and the importance of fan curves to maintain temperatures while maximizing performance. They reflect on real-world performance, noting frame rates in the 170–180 range and the nontrivial improvement in in-game responsiveness and foliage rendering at higher refresh rates. The episode closes with reflections on the build experience, the collaborative energy with Linus Media Group, and the potential for James to enjoy many hours of gaming and school work on his new rig, thanking ASUS ROG for making the upgrade possible and highlighting the sense of community around the project.
Topics · technology · gaming · hardware · tutorials
Questions answered
- Which graphics card is featured in the build and what are its key capabilities?
- The ASUS ROG Strix GTX 1080 Ti is installed, with features including VR readiness, multiple display outputs (HDMI 2.0, DisplayPort 1.4, DVI), and G-Sync support for smooth, tear-free gaming.
- What monitor capability is highlighted as improving gameplay experience in the video?
- A 240 Hz monitor is discussed, enabling very high frame rates and smooth gameplay, especially when paired with G-Sync and a powerful GPU.
- What is the general approach shown for cable management during the build?
- The builders bundle the small cables and route them behind the fans, then align and secure them to the motherboard and case, emphasizing tidiness and airflow rather than forcing connections.
- What is the first power-on outcome after assembling the PC?
- The system powers on successfully, confirming that the build is alive and ready for initial software setup and testing.