Asus TS Mini Windows Home Server Hard Drive Upgrade Guide & Walkthrough Linus Tech Tips
0 up · 0 down · 0 ratings
Description
Today I take you through the steps of upgrading the storage capacity of the ASUS TS Mini Windows Home Server. I also explore the internals of this device.
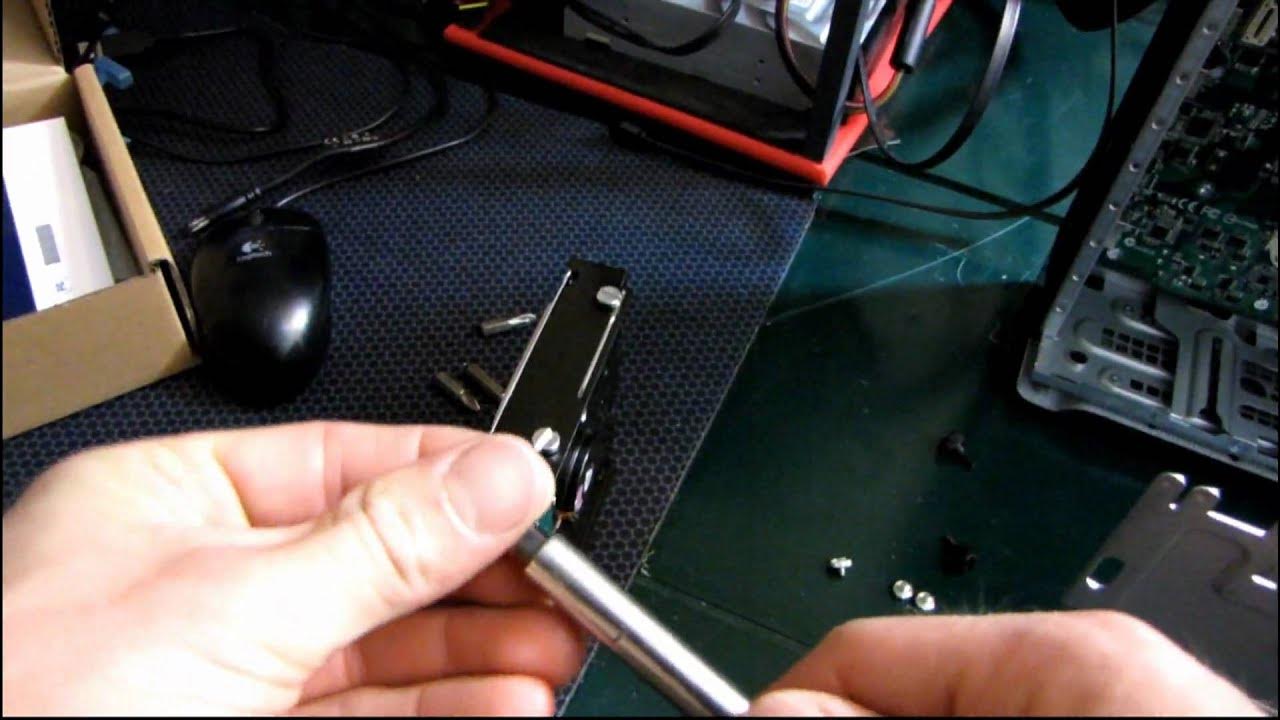
The video provides a practical, step-by-step walkthrough for upgrading the storage inside the Asus TS Mini Windows Home Server. It begins with a close-up of the physical teardown, showing how to remove the back cover with two thumb screws and slide the case off, then continues into the interior where the user must remove three screws to access the drive bay. The presenter demonstrates using slot head screws and magnetic screws, noting the handling challenges and sharing small preferences for screw types, which adds a touch of practical humor to an otherwise technical process. The guide then focuses on installing a second hard drive, aligning the drive with the PCI Express 1X backplane, and securing the unit back into the chassis with the included screws. Throughout, there are brief observations about the TS Mini’s hardware, including its motherboard, PCIe interface, and the non-obvious VGA port which is not accessible from the back. The host emphasizes that the value of a Home Server increases with multiple drives for data security and redundancy, and he notes that the unit is designed to be user-serviceable despite its compact form. By the end, the video reiterates the upgrade steps and confirms that adding a second drive improves storage capacity for the TS Mini, highlighting the importance of expanding storage for data security and practical home server use.
Topics · technology · hardware · how-to · lifecycle · tutorial
Questions answered
- What is the primary goal of the video and what does the Asus TS Mini support in terms of drives?
- The video guides upgrading the TS Mini by adding a second hard drive to expand storage; the TS Mini supports two drives via a backplane.
- What initial steps are shown to begin the hard drive upgrade?
- First, remove the case by unscrewing two back screws, slide the case off, and then remove three screws to access the drive bay.
- Can you access the TS Mini's VGA port from the outside, and what is demonstrated about it in the video?
- The VGA port is not accessible from the back; the video notes exploration of the backplate and discusses the possibility of accessing or exposing the port, albeit not in normal operation.