ATTEMPTING TO START THE WRECKED BUGATTI CHIRON PUR SPORT
0 up · 0 down · 0 ratings
Promos
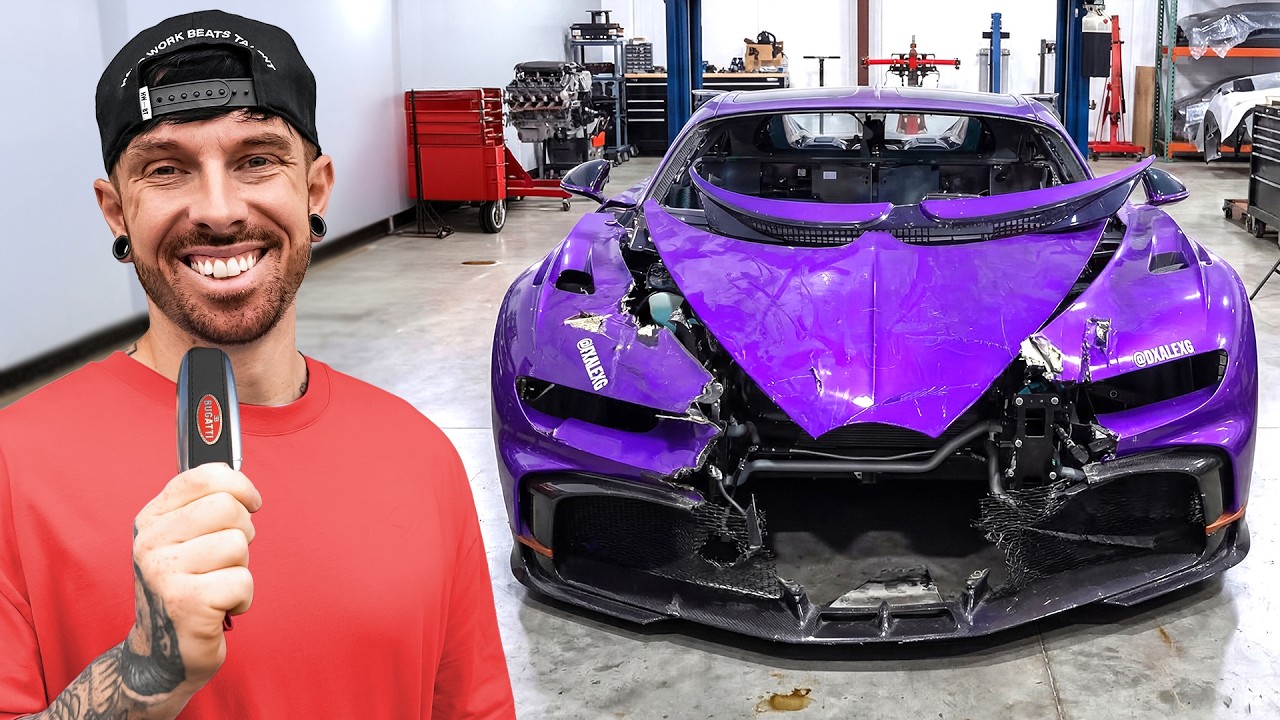
Check if your car was damaged with carVertical - using code MAT for 20% off - carvertical.com Last time we worked on the Bugatti Chiron Pur Sport we managed to separate the car in half despite Bugatti telling us is wasnt possible in a regular garage without any training or special equipment. But now we have to repair the broken part and then put the car back together to make sure it works. On top of that we have installed a 1 of 1 aftermarket exhaust to it. Lets see what it sounds like! Thanks to Bob at @the-machine-shop Thanks to valvetronic.com for making the exhaust so quick!
ALL MA MERCHANDISE
Channels and socials
FOR MORE CONTENT
CHECK OUT MY SECOND CHANNEL
Follow Me Here Aswell
Notes
This video documents a high stakes engineering challenge: reassembling and repairing a wrecked Bugatti Chiron Pur Sport in a non traditional workshop setting. The host explains early on that Bugatti refused to supply parts, forcing them to improvise using a mix of original components and home made or repaired parts. The team weighs two main repair strategies for a broken engine mount and gearbox bracket: CNC machined aluminum along a single piece versus repairing the original mount. They consult Bob at a machine shop, test welding feasibility, and ultimately decide the repaired original mount offers a balance of strength, cost, and compatibility with the car’s existing systems. The build proceeds with precise machining, heat treatment, and a cardboard infill strategy to reinforce the casting, aiming to keep the repaired component inside tolerances and ensure reliable operation after assembly. The crew then focuses on rejoining the front and rear halves of the car, executing a careful sequence of installation steps that include bolting, alignment, and torqueing to Bugatti-like standards using external references and tube jigs. The process of reassembling the drivetrain is meticulous: mounting the gearbox to the engine, reconnecting all electrical connectors, OBP lines, and oil feeds, and verifying the fit of the now repaired components before the initial startup attempt. Once the mechanicals are in place, they address exhaust changes via a one-off Valvetronic exhaust design built specifically for this car, testing fitment, tone, and flow dynamics. The moment of truth arrives when they attempt to start the engine and bring the chassis up to temperature, encountering fuel line leaks and car vertical checks on the salvage title, which influence their testing plan and expectations. Despite setbacks, the team demonstrates resilience, performing brake bleeding, fuel system adjustments, and a cautious roadway start to evaluate drivetrain response, final assembly integrity, and system communication across the ECU and CAN bus. In the end, the car starts, drives in gear, and the crew reflects on the challenge, the exhaust’s tonal character, and the implications of a salvage title for potential buyers, all while acknowledging that further testing and refinements remain for stage two of the project.
Topics · Autos & Vehicles · Engineering · DIY & Restoration · Automotive Repair · Motorsport · Automotive Engineering · Custom Exhaust · Project Vehicle
Questions answered
- What was the main repair challenge for the Bugatti Chiron Pur Sport in this video?
- The main repair challenge was reassembling and strengthening a broken engine mounting and gearbox bracket, which required choosing between CNC machined aluminum parts or repairing the original mount, and then reinstalling the drivetrain while ensuring proper alignment and sensors.
- How did the team assess the feasibility of repairs without official parts from Bugatti?
- They consulted a machine shop, evaluated welding feasibility, weighed pros and cons of using repaired original components versus new CNC parts, and relied on improvised tooling and measurements to attempt a safe, functional reconstruction.
- What role did the Valvetronic exhaust play in the project?
- The Valvetronic exhaust was a one-off aftermarket system designed specifically for this build, manufactured to replace the stock exhaust and test how the car would sound and flow with a customized setup.
- What safety or reliability concerns were discussed related to the repair?
- Concerns included the exact placement of crank sensors and ignition timing, maintaining structural integrity of welded joints under boost, ensuring proper oil and coolant routing, and avoiding engine fault conditions from altered sensors or emissions components.
- What final checks were performed before the car was started?
- Final checks included torquing all bolts to a consistent spec, connecting all electrical and fluid lines, bleeding brakes, installing the battery, and verifying harnesses and fuse boxes were correctly connected.