Fixing a Broken Gaming Monitor for CHEAP - DIY
0 up · 0 down · 0 ratings
Promos
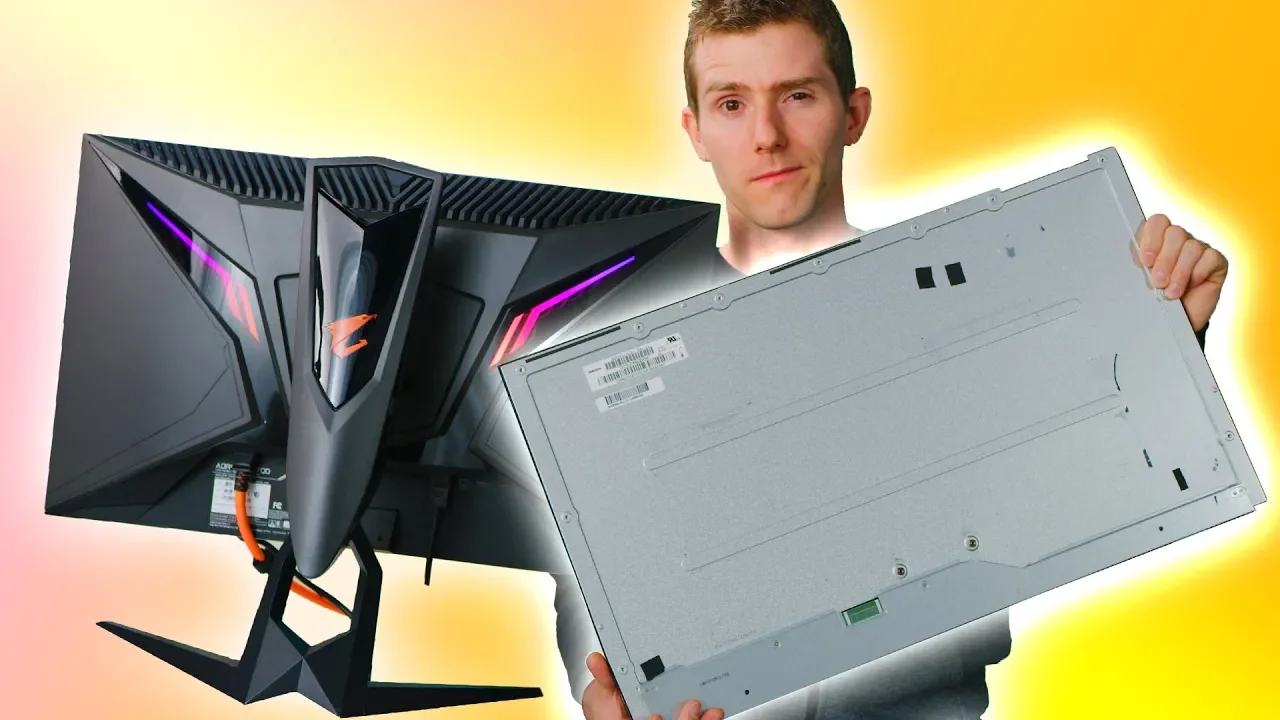
Get an unrestricted 30-day free trial of FreshBooks at freshbooks.com Use code LINUS and get 25% off GlassWire at lmg.gg We bought this shipping damaged monitor off eBay with the intention of fixing it works as good as new. Come along for the ride! Buy: Aorus AD27QD Gaming Monitor On Amazon: geni.us On Newegg: geni.us Buy an iFixit Pro Tech Tool Kit at ifixit.com Discuss on the forum: linustechtips.com Our Affiliates, Referral Programs, and Sponsors: linustechtips.com Get Private Internet Access today at geni.us Displate metal posters: lmg.gg Linus Tech Tips merchandise at lttstore.com Linus Tech Tips posters at crowdmade.com Our Test Benches on Amazon: amazon.com Our production gear: geni.us Twitter - twitter.com Facebook - @LinusTech Instagram - @linustech Twitch - twitch.tv Intro Screen Music Credit: Title: Laszlo - Supernova Video Link: youtube.com iTunes Download Link: itunes.apple.com Artist Link: soundcloud.com Outro Screen Music Credit: Approaching Nirvana - Sugar High youtube.com
This video follows a tight budget challenge: fixing a broken gaming monitor bought from eBay for a fraction of its price and turning it into a fully functional unit. The host documents the decision process, weighing the risk of repairing versus buying new, and explains why this particular Aorus AD27QD monitor was chosen for its strong feature set, including G-Sync compatibility and a high refresh rate. Early on, they estimate the chances of success as a binary bet, joking that it could be either perfect or a total failure, which sets the playful tone for the repair adventure. The repair workflow begins with confirming the monitor is powered on despite visible damage, then carefully disassembling the unit to access the panel and the replacement part. They emphasize the importance of sourcing a compatible replacement panel, ideally from brands with readily available parts like Acer, Asus, or LG, and they discuss the practicalities of panel compatibility and mounting before attempting the swap. After installing the replacement panel, they reassemble the monitor, route cables, and perform a test to verify basic functionality, color calibration, and LED indicators. The video captures a mix of triumphs and setbacks, such as initial display issues, dead pixels, and the need to install updated graphics drivers to realize the full potential of the refurbished display. The final outcome contrasts the cost of the fix with the price of a new monitor, highlighting the value in repairing a panel and achieving a G-Sync compatible gaming monitor for about the same investment as a mid-range new unit. Throughout, the host interweaves practical tips on sourcing panels, reusing original framing tape, and testing the setup, culminating in a demonstration that the refurbished monitor delivers a solid gaming experience with 1440p resolution, 144 Hz, and compatible features. The video closes with reflections on the time and effort required, the two-month order delays from suppliers, and the overall financial logic of choosing a repair over replacement, while also promoting related tech tips and affiliate links. In all, the project blends hands-on repair with a cost-conscious mindset, offering a detailed case study for DIY enthusiasts who want high-end performance without paying full market price.
Topics · diy · electronics · gaming · pc hardware · repair · technology
Questions answered
- What monitor model was repaired in the video?
- The Aorus AD27QD gaming monitor was repaired using a replacement panel.
- How much did the broken monitor cost when bought on eBay?
- It was purchased for about $120.
- What were some challenges encountered during the repair?
- Challenges included sourcing a compatible replacement panel, potential differences in panel hardware, calibrating the display, and ensuring the data cables were reconnected correctly; there were also delays and order cancellations from suppliers.
- Did the refurbished monitor support features like G-Sync after the repair?
- Yes, after driver updates and proper calibration, the monitor achieved G-Sync compatibility and a functional 1440p/144 Hz gaming experience.