Kingston SSDNow V Series Notebook Upgrade Kit & Installation Guide Linus Tech Tips
0 up · 0 down · 0 ratings
Description
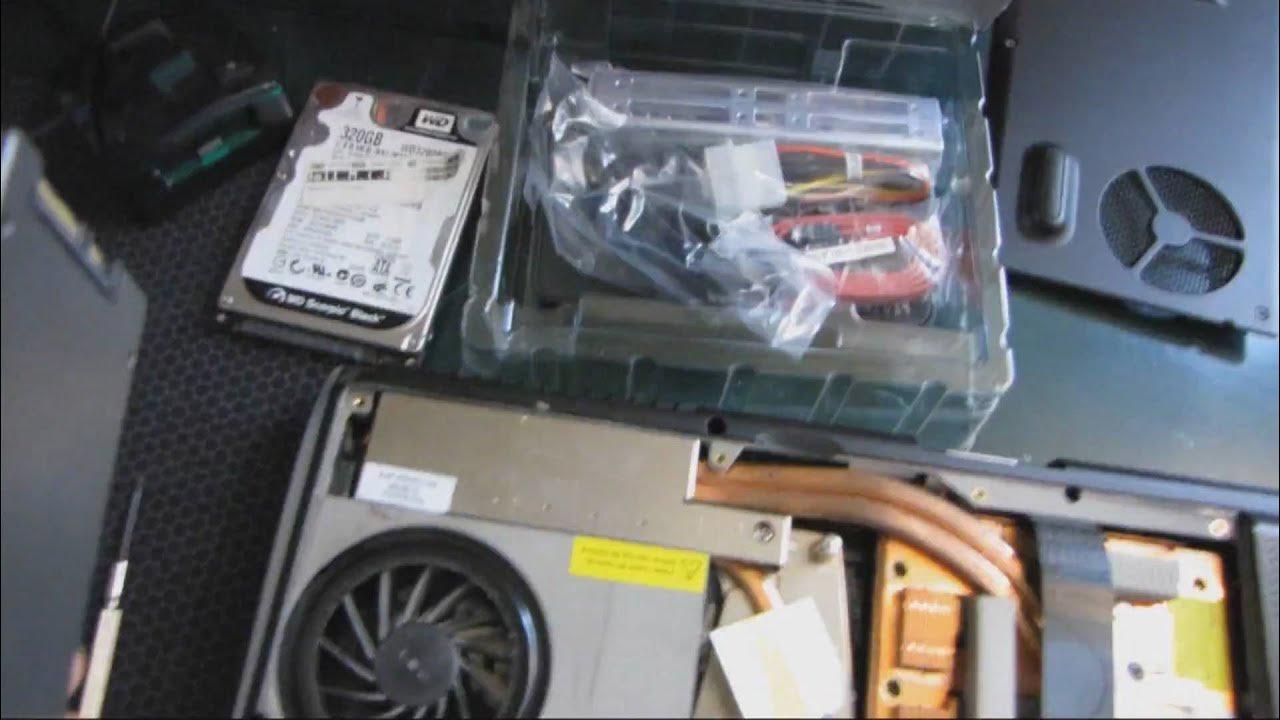
Today I upgrade the hard drive in my notebook to an SSD using the software included in Kingston's handy-dandy SSD upgrade kit!
The video opens with Linus recounting a pledge to upgrade a notebook with Kingston's SSDNow V Series kit, showcasing the unboxing of the 128GB SSD and the included cloning software. He lays out a quick plan: remove the existing hard drive, install the new SSD, and clone the old drive’s data onto the SSD using Kingston’s bundled software. He walks through gathering tools, noting the notebook’s age and specs, and demonstrates the general approach to accessing the hard drive bay in a laptop, including the layout of mounting screws and the effect of the bottom mounting holes on some models. The host emphasizes the core concept that an SSD does not require any special BIOS configuration and that Windows or system behavior should be compatible as long as the hardware supports a standard 2.5 inch SATA drive, while highlighting the performance advantage of SSDs and addressing typical questions about OS compatibility and boot behavior. As the upgrade proceeds, Linus physically replaces the hard drive with the Kingston SSD in the notebook, then installs the former drive into the supplied USB enclosure for cloning. He explains the cloning workflow in detail, including selecting the source drive in the Kingston enclosure, configuring the destination SSD, and choosing a proportional data transfer method to ensure the 128GB SSD can hold the existing data. The narration covers potential hiccups, such as ensuring the computer boots from the optical drive if needed and the importance of aligning partitions for optimal SSD performance. After setting up cloning, he notes the lengthy cloning duration and candidly shares his expectations versus the actual time, then demonstrates booting with the new SSD once cloning completes, warning that Windows XP may not be ideal for this process due to potential misalignment issues. The video ends with reflections on the practical outcomes, confirming the upgrade’s success and offering brief, light-hearted commentary on the camera setup, his cat, and the overall experience of upgrading a notebook with an SSD. Throughout, the tutorial emphasizes practical, repeatable steps for upgrading notebook storage with an SSD, including hardware handling, drive mounting, data cloning, and boot verification, while also touching on common questions about SSD versus HDD performance, data transfer methods, and the trade-offs in storage capacity. The tone remains approachable and humorous, with a focus on tangible results, real-world challenges, and tips to maximize the upgrade’s effectiveness in an older laptop context. The overall takeaway is that upgrading to an SSD can dramatically improve responsiveness and speed with minimal changes to software or system configuration, making the process accessible to DIY enthusiasts and technicians alike.
Topics · hardware-upgrades · laptops · ssds · data-cloning · how-to
Questions answered
- What is the first step Linus takes to upgrade the notebook with the Kingston SSDNow kit?
- He unboxes the notebook upgrade kit, identifies the 128GB SSD, and prepares to remove the existing hard drive by accessing the laptop’s internal bay and mounting points.
- Does the video require BIOS changes to use a Kingston SSD in an older notebook?
- No major BIOS changes are required; the SSD is treated like a standard 2.5 inch SATA drive and should work if the notebook can boot from a drive with a hard disk.