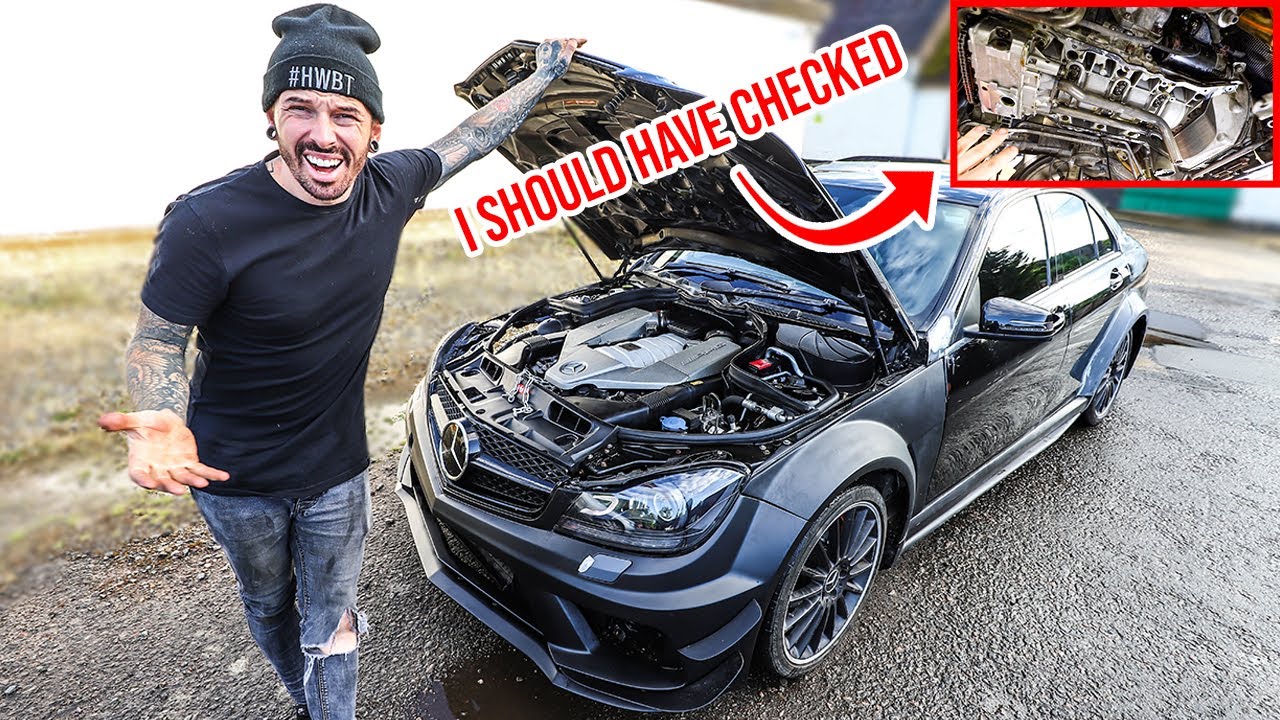
FIXING EVERYTHING WRONG WITH THE WRECKED MERCEDES C63 AMG
0 up · 0 down · 0 ratings
Promos
Head to squarespace.com to save 10% off your first purchase of a website or domain using code - matarmstrong The Mercedes C63 AMG W204 is an amazing car... when i works. I bought the Mercedes a fair while ago now and i am still getting issues. The body work and structure to a big hit in the crash but ive have repaired most of it & just when you think you are making progress another problem gets thrown in my pass. In the last video i found more abs faults, airbag faults and also a huge oil leak. In this video i try to tackle them all, even if that does mean the engine has to come out! Check if your car was damaged with Car Vertical - 10% off here carvertical.com
ALL MA MERCHANDISE
Channels and socials
Follow Me Here Aswell
Notes
This video documents a hands on rebuild project focused on a wrecked Mercedes C63 AMG from the W204 generation. The creator dives into a cascade of electrical and mechanical faults, starting with dash warning lights and an airbag system issue tied to a missing driver’s seat belt buckle. He explains how replacing seat belts and airbags is not sufficient when other sensors and wiring are damaged, and he documents the process of diagnosing a broken wheel speed sensor and an interrupted wiring loom feeding the ABS control module. The narrative emphasizes resourcefulness, as he experiments with wiring repairs, wire splicing, and the use of a diagnostic tool to clear faults once the wiring is corrected. The timeline then shifts to a much larger task: removing and reassembling the front subframe to access leaky sump seals, replacing gaskets with sealant, and inspecting oil leaks from the upper sump area that could require extensive engine work if not addressed. Throughout, the presenter weighs time, budget, and risk, often acknowledging the challenge and the tightrope between cutting corners and delivering a safe, roadworthy build. By the end of the segment, he tests the repaired systems, confirms that the dash no longer lights up, and demonstrates a cautious but hopeful drive around a car park, signaling progress while acknowledging that more bodywork and finishing touches lie ahead. The video also includes sponsor content and a call to action for viewers to subscribe, with a lighthearted wrap up that hints at future updates on this ambitious car restoration journey.
Topics · automotive repair · car restoration · DIY car maintenance · project car
Questions answered
- What caused the airbag light to stay on, and how was it addressed?
- The airbag light was primarily triggered by a missing or faulty driver’s side seat belt buckle and related sensors. The user replaced airbags and belts, then investigated the seat belt wiring and eventually corrected a broken wire to the ABS control module, which helped clear the fault once the wiring issue was resolved.
- Why did the engine need to be dropped or partially accessed to fix the oil leak, and what was the solution?
- The oil leak appeared to originate near the upper sump area, a known issue on this engine that often requires engine out work. In this fix, the sump assemblies were removed, the seals cleaned, and new sealant applied along the sump joints to stop the leak without removing the engine, with careful reassembly and checks for leaks afterward.
- What diagnostic steps were taken to confirm the faults and fixes?
- A diagnostic tool was used to read wheel speed sensor faults affecting the ABS and traction control. After wiring repairs, the tool was used again to confirm that the faults had cleared, and the dash lights stayed off during a test drive around a car park.