Intel LGA1155/1156 Core i3 i5 i7 CPU Installation Tutorial Guide Walkthrough Linus Tech Tips
0 up · 0 down · 0 ratings
Description
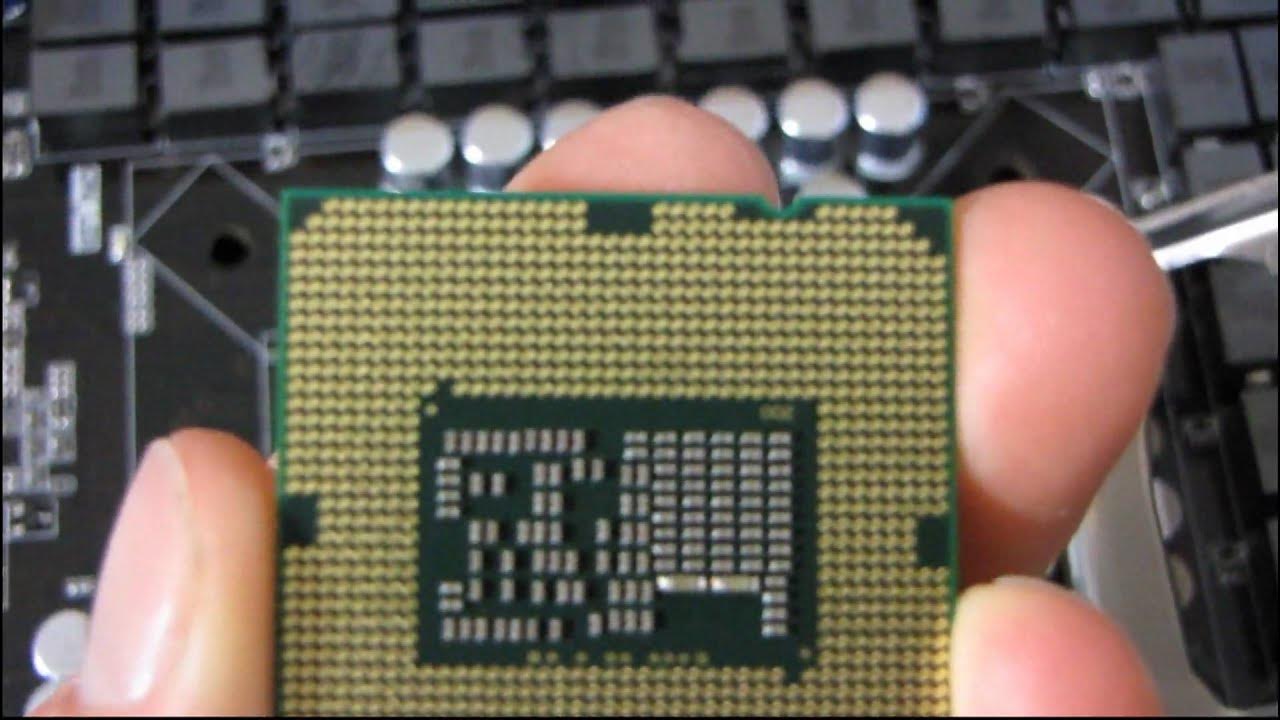
Today I take a quick look at how to install a CPU in Intel's LGA1156 socket. I will be aided by my cat. This procedure also works for LGA1155 processors!
This video provides a concise, practical tutorial on installing an Intel LGA 1156/1155 CPU into a motherboard, demonstrated with clear step-by-step guidance. The host begins by outlining the goal of installing an LGA 1156 CPU and then walks through the essential steps: opening the socket lever, removing the protective cover, and aligning the CPU with the socket notches before setting it into place. The explanation emphasizes careful handling to ensure all 1,156 pins align perfectly with the socket pins, and it highlights the importance of proper downward pressure via the socket lever and heat spreader tabs to achieve solid contact. A lighter, memorable moment occurs when the host reminds viewers to keep pets or other interruptions away from the work area, illustrating real-world caveats during hardware assembly. The tutorial balances technique with accessible commentary, including tips on how the lever and socket mechanism apply pressure to secure the CPU, and ends by noting that there will be more installation tips in future videos. Overall, the video delivers a compact, beginner-friendly walkthrough that demystifies CPU installation and reassures viewers that careful handling leads to a successful build, with emphasis on notching alignment, lever operation, and contact integrity with the socket pads.
Topics · hardware · tutorial · how-to · tech · linus-tech-tips
Questions answered
- What is the first step to install an LGA 1156/1155 CPU in this tutorial?
- Open the socket lever by pulling it to the side, then lift it up to release the socket clamp.