INSTALLING THE 1M BUMPER ON MY BMW 1 SERIES E87
0 up · 0 down · 0 ratings
Description
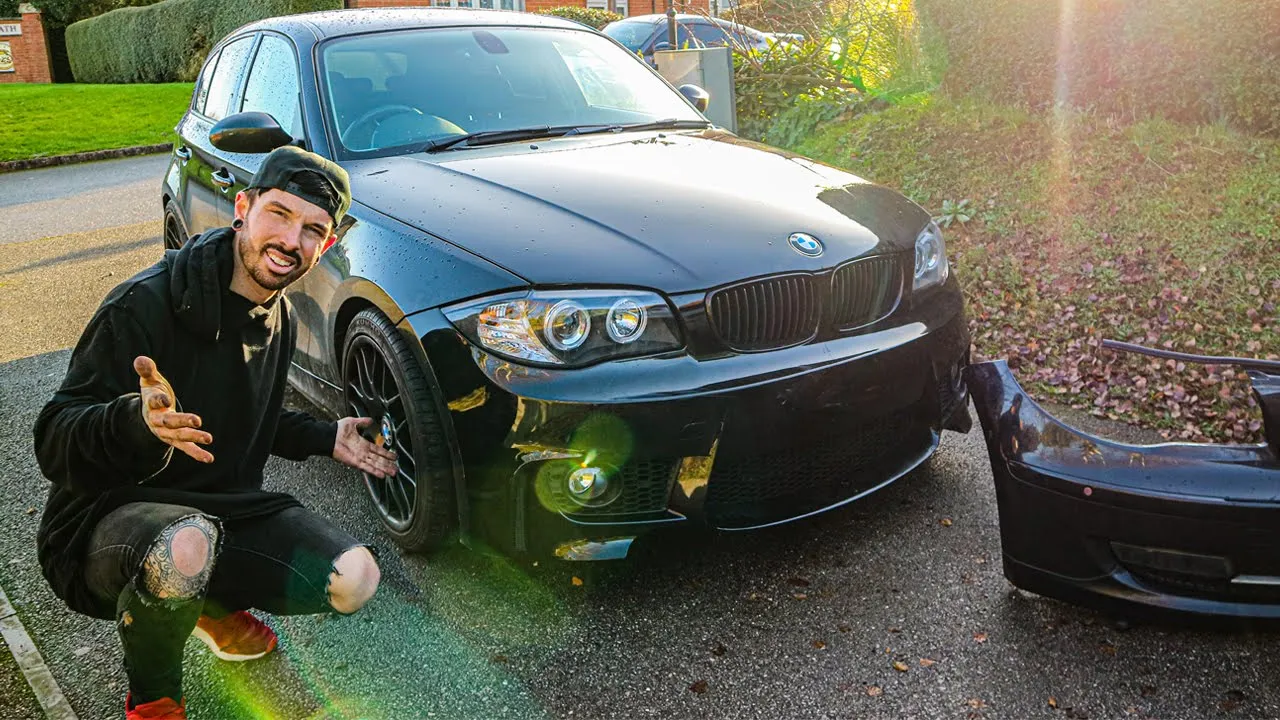
We repaired the 1M bumper in the last video and now it was time to finally fit it to the 1 Series. Its pretty easy to install, in fact it took about 1hr & 30mins. It could really do with a clean now so we can see the full transformation. Thanks for watching! Kind comments are encouraged
Visit my site for the parts you see in the vids here
For a Carly device click here
Channels and socials
Follow Me - @matarmstrongbmx @matarmstrongbmx
Notes
The video documents the process of installing a genuine 1M bumper on a BMW 1 Series E87. The creator begins by noting the bumper was previously repaired and is now ready for mounting, with a plan to complete the job within about an hour and a half. The narrative emphasizes doing the work at home, using a driveway setup rather than a professional garage, to empower viewers to tackle similar mods themselves. Early steps include removing the stock bumper, disconnecting fog lights, and preparing the bumper for installation, while also addressing the challenge of missing parking sensor holes on the new bumper. Throughout, the host shares practical tips, such as ensuring the fog lights fit correctly and double-checking wiring without rushing the job, which helps to prevent mistakes in a tight time window. The video also teases future related content, including cosmetic touch ups and potential performance or aesthetic upgrades, keeping viewers engaged with the ongoing transformation of the car. As the installation proceeds, the host demonstrates the real-world sequence of aligning the 1M bumper, reattaching bolts, and verifying that the new front end sits flush with the bodywork. There is a strong emphasis on the visual impact of the upgrade, with the 1M bumper transforming the car from a casual daily driver into a more aggressive, dealership-like stance. Along the way, the creator notes the practical consideration of parking sensor integration, clarifying that the new bumper lacks sensor holes and that the sensors can be temporarily disabled using a Carly device, a detail that helps viewers plan alternative approaches if they encounter the same constraint. The pacing reflects a balance between quick, efficient execution and careful attention to detail, culminating in a final montage of the bumper looking sharp and integrated, with reflections on how the modification elevates the vehicle's overall appearance. Finally, the host signals ongoing interest in related projects, including cleaning, brake caliper color changes, and potential future content about real estate ventures, underscoring a broad spectrum of car and lifestyle interests that keep the channel dynamic and engaging.
Topics · car_modification · auto_repair · vehicle_upgrades · tutorial · how_to · diy · vlog · cars_and_vehicles
Questions answered
- Can the 1M bumper be installed at home without professional help?
- Yes, the video demonstrates a home installation completed in about 1 hour and 30 minutes, with step by step guidance on removing the stock bumper, wiring the fog lights, and aligning the new bumper on a driveway setup.
- What about the parking sensors when installing the 1M bumper?
- The bumper lacks sensor holes, so the video explains that the front parking sensors can be disabled using a Carly device connected to the OBD port and controlled via a phone, rather than drilling holes into the bumper.
- How long did the install take and what preparation is needed?
- The host estimates roughly 1 hour and 30 minutes for the full install, noting the need to remove the old bumper, detach fog lights, mount the new bumper, and secure all bolts while ensuring proper alignment.